The Masterclass: A Realistic First-Person Boxpro Job Scenario
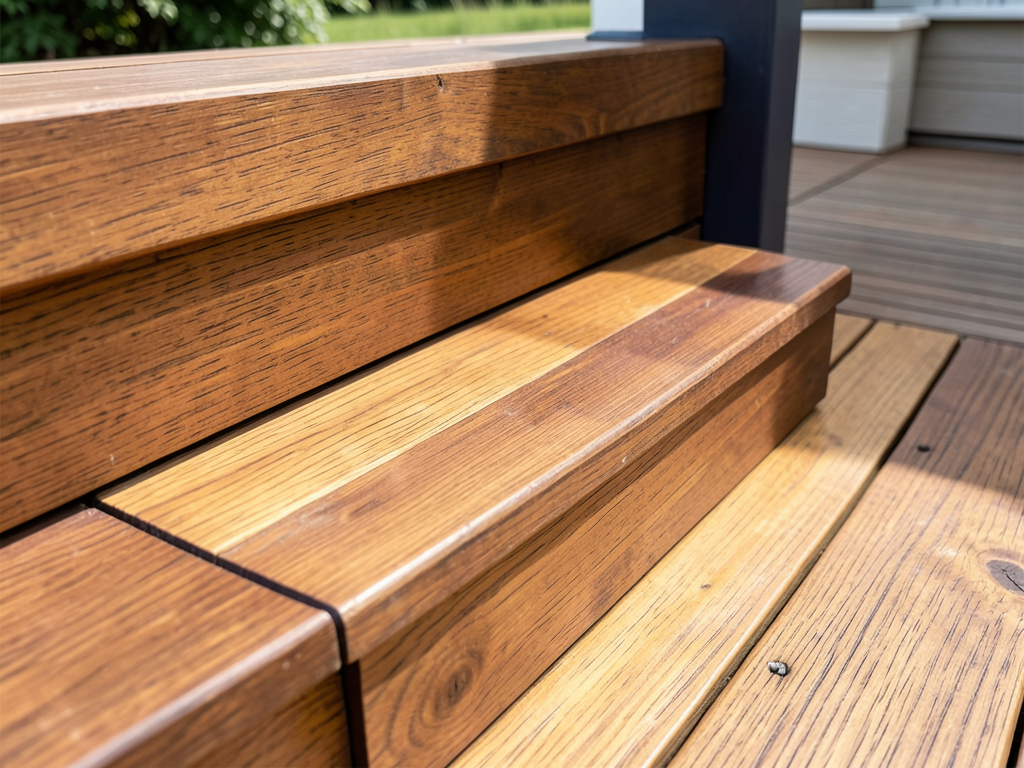

A Day in the Field: How We Brought a Rotting Deck Back to Life in Yuba City
It was a Tuesday morning in late September, and the Sacramento Valley heat was already climbing toward ninety degrees by the time I pulled my Boxpro Express truck onto a quiet residential street near the Plumas Lake area of Yuba City. The homeowner, a retired schoolteacher named Carol, had called us about her backyard deck. She described it as “a little soft in places.” After twelve years of Central Valley summers and sprinkler overspray, I expected it was more than a little soft. I was right.
The Initial Walkthrough: Assessing the Damage
Carol met me at the back gate with a cup of coffee and an apologetic smile. “I kept meaning to call sooner,” she said. That’s something I hear a lot in Yuba City. Life gets busy, deferred maintenance sneaks up on you, and before long a small problem becomes a serious one.
I did a full walkaround before touching a single tool. The deck was a roughly 14-by-20-foot pressure-treated structure, about four feet off the ground at the far end where the yard sloped away. The ledger board — the critical piece that attaches the deck to the house — was visibly dark with moisture damage. Several of the deck boards closest to the house had turned spongy from years of sprinkler water pooling at the base of the siding. Two of the outer joists showed surface rot, and three boards near the steps had cracked through completely.
I photographed everything, crouched under the structure to check the posts and beams, and pressed a screwdriver into the suspicious areas to gauge the depth of the rot. When the blade sinks in without much resistance, that’s a red flag. In a couple of spots, it went in nearly an inch.
Building the Repair Plan and Setting Expectations
Before I opened my tailgate, I sat down with Carol at her patio table and walked her through exactly what I had found. I use a simple job sheet that lists each problem area, the proposed fix, the materials needed, and the estimated time. No surprises, no hidden charges — that’s the Boxpro Express standard.
The scope we agreed on included:
- Removal and replacement of eight compromised deck boards with new pressure-treated 5/4 x 6 lumber
- Sistering of two deteriorated outer joists with fresh pressure-treated stock to restore structural integrity
- Cleaning and reinforcing the ledger connection with new structural screws and a bead of waterproof flashing tape
- Applying a penetrating wood sealant across the entire deck surface once repairs were complete
- Adjusting the adjacent sprinkler head to redirect spray away from the deck framing
Carol had one question: “Will it hold for another ten years?” I told her honestly — if she seals it every two years and keeps the sprinklers pointed away from the wood, there’s no reason it shouldn’t last fifteen.
The Work Begins: Demolition and Framing
I started demo at around 8:30 a.m. Prying up old deck boards is straightforward work, but it pays to be methodical. I used a flat bar and a reciprocating saw to cut through the rusted deck screws rather than prying against the joists, which avoids putting unnecessary stress on the framing beneath. The eight boards came up cleanly in about forty minutes.
With the boards removed, the joist damage was fully exposed. The two outer joists had surface rot running about six feet along their length, but their cores were still structurally sound — which meant sistering was a solid option rather than full replacement. I cut two lengths of pressure-treated 2x8 to span the full joist run, drilled pilot holes to prevent splitting, and fastened them with structural screws at eight-inch intervals. Sistered properly, those joists are now effectively stronger than they were when the deck was first built.
The ledger required the most careful attention. I removed the old lag bolts, cleaned out the debris and dried rot material with a wire brush, applied a bead of flexible waterproof flashing tape along the top edge where water had been infiltrating, and re-fastened with new 5/8-inch structural lag screws driven into solid framing. That connection is what keeps the deck anchored to the house — it has to be right.
Installing the New Boards and Finishing the Surface
By midday, the framing was solid and I was ready to lay the new deck boards. I pre-drilled every board before driving the screws — this prevents surface splitting, which is especially important in the dry Yuba City climate where wood contracts and expands significantly with the seasons. I left a consistent 1/8-inch gap between boards to allow for drainage and expansion, using a set of spacer tiles to keep the spacing uniform across the full run.
The new boards were cut slightly long and then snapped to a clean line with a chalk line and trim cut along the outer edge. It’s a small detail, but it makes the finished deck look intentional and precise rather than patched together.
Once all eight boards were down and the screws were countersunk and flush, I swept the deck clean and applied the first coat of a penetrating oil-based wood sealant with a wide brush, working it into the end grain of every cut and paying special attention to the areas around each screw hole. I gave Carol a second can and showed her exactly how to apply a maintenance coat herself in two years — ten minutes of work that will add years to the life of the wood.
The Sprinkler Fix: The Detail That Makes It Last
A deck repair without addressing the source of the moisture damage is like patching a roof without fixing the gutter. I spent about twenty minutes adjusting the nearest sprinkler head — rotating the arc, reducing the throw radius, and angling it slightly away from the house. It was a minor adjustment, but it’s the reason Carol’s new boards will still look good in 2035.
Before and After: The Real-World Results
| Condition Before Boxpro Express | Result After Boxpro Express |
|---|---|
| Eight deck boards rotted and cracked near the ledger from chronic sprinkler overspray | Replaced with new pressure-treated lumber, sealed, and properly spaced — structurally sound and weather-ready |
| Two outer joists showing surface rot along a six-foot run | Sistered with full-length pressure-treated stock — effectively stronger than original construction |
| Ledger connection compromised by moisture infiltration and corroded hardware | Cleaned, flashed with waterproof tape, and re-fastened with structural lag screws — connection fully restored |
| Sprinkler head directing water onto deck framing year-round | Arc and radius adjusted — moisture source eliminated at the root cause |
| Bare, unprotected wood surface accelerating UV and moisture damage | Full surface sealed with penetrating oil-based sealant — homeowner supplied and trained for future maintenance coats |
Wrapping Up: What Carol Said
I finished the job by 3:15 p.m. — a solid day’s work, start to finish. Carol walked out onto the deck, tested a few boards with her heel, and stood at the railing looking out at her yard. “It feels completely different,” she said. “Solid.” That word is what I work for.
Before I left, I did a final sweep of the work area, disposed of all the old lumber and debris, and handed Carol a printed summary of everything we had done, including photos of the framing work before the new boards went down. Transparency isn’t a policy at Boxpro Express — it’s a habit.
Why Home Repairs in Yuba City Require Local Expertise
Jobs like Carol’s are common in Yuba City. The climate here is relentless — triple-digit summer heat, wet winters, and the persistent humidity near the Feather River all conspire against outdoor structures. Wood decks, exterior siding, window caulking, and door frames all take a beating that homeowners in milder climates simply don’t experience at the same rate.
Boxpro Express LLC · 175 Nantucket Way, Yuba City, CA 95993 · (530) 978-8081 · boxproexpress.com
Ready to Build in Yuba City? Design Online or Talk with Jessica.
Lock in your transparent ballpark price in 60 seconds with our interactive 3D configurator, or talk live with Jessica, our project concierge, for instant answers and next Sunday measurement walk reservations.